Showing posts with label ribbon. Show all posts

Monday, July 25, 2011

Sewing Class

The Drama Queen has been so excited to have her friend over every day this summer. We have the blessing and privilege to "babysit" her each day.

Each morning, after the kids have done their chores, I have the girls sit down and do some school work to keep their brains sharp during the summer. The Drama Queen is working a lot on her reading and writing, while her friend J. needs more practice on her math skills.

However, one day last week, I decided to give them a break from all the "no, that's not the way you hold your pencil" and "sound it out and see if you can read it"'s to do a different kind of school instead. The girls got to learn some basic skills on the sewing machine!

They each chose some fabric from my stash and with some instruction did most of the sewing on these purses themselves:
(pretty impressive, eh? The Drama Queen's purse is of course the one with frogs and flip flops and jungle animals. J. went a much more girly route.)

Nothing matches that feeling you get when you make something yourself - and are successful at it! The Drama Queen has been taking her purse everywhere - the store, the park, and even to church (it's a perfect size to carry her Bible and offering money).

I guess home ec was a success! Maybe this week we will learn a baking or cooking lesson. They can feed all my pregnancy cravings!

Thursday, April 14, 2011

Fabric Banner Tutorial

Yesterday, I posted the lyrics to the beautiful song "He Lives" with a very brief and admittedly inadequate description of how that song has affected me this Easter season. It got me thinking that I would like to have some more meaningful Easter decorations in my home. I decided to make a fabric banner with those words - HE LIVES - to put up in our living room.

There are dozens and dozens of fabric banner tutorials all over the internet. I checked some out but then decided to make it up as I went along. Money has been a little tight around here; so I was determined to make the banner without having to purchase any new materials. Fortunately, I have boxes of designer fabrics left over from the French memo boards I used to make for my etsy shop.

So here's how I made the banner:
First, I made a paper pattern for my fabric triangles. I folded a piece of paper in half and then cut a diagonal to the size triangle I wanted.

Then I opened the triangle up and laid it on my fabric. I traced two triangles on each fabric that I was using and cut them out.
I chose to use a different fabric for each pennant on my banner since I had so many coordinating fabrics, but it would be really pretty to just choose two fabrics and alternate them.
Next, I took two matching pieces of fabric and placed them back to back. Using my sewing machine, I stitched down one side and up the other, leaving the top open. I did this for each set of fabric triangles.
I used a small pair of sharp scissors to trim off all the excess fabric on each pennant.
I turned each pennant right side out, using a skewer to make sure the point of the triangle was completely turned out.
Then, I ironed all the pennants to make the seams and creases sharp.
I found a pretty pale blue ribbon that had been wrapped around a gift I received and folded it in half length-wise, ironing it so that it would stay folded and creased. I then arranged my pennants along the inside fold of the ribbon and pinned them in place. (note my ghetto safety pins - I could not locate my sewing pins and had to make do with these!)
It was very quick to sew a quick seam along the ribbon to attach the pennants to the ribbon. (A glue gun would work well here too!)
For my letters, I just used my Sizzix die cutter to punch out black felt letters. It would be pretty easy to make the letters using any stencil or even hand-lettering with fabric paint. I used my hot glue gun to adhere the letters to the pennants.

It took two scrap pieces of black ribbon and a step ladder to get this banner hung front and center in the living room. I love it! It makes a great Easter decoration, although I will probably keep it up for a while afterwards. I love the message and the colors.

What have you done to decorate for Easter?

Thursday, July 08, 2010

Monogrammed Daisy Clippie Tutorial

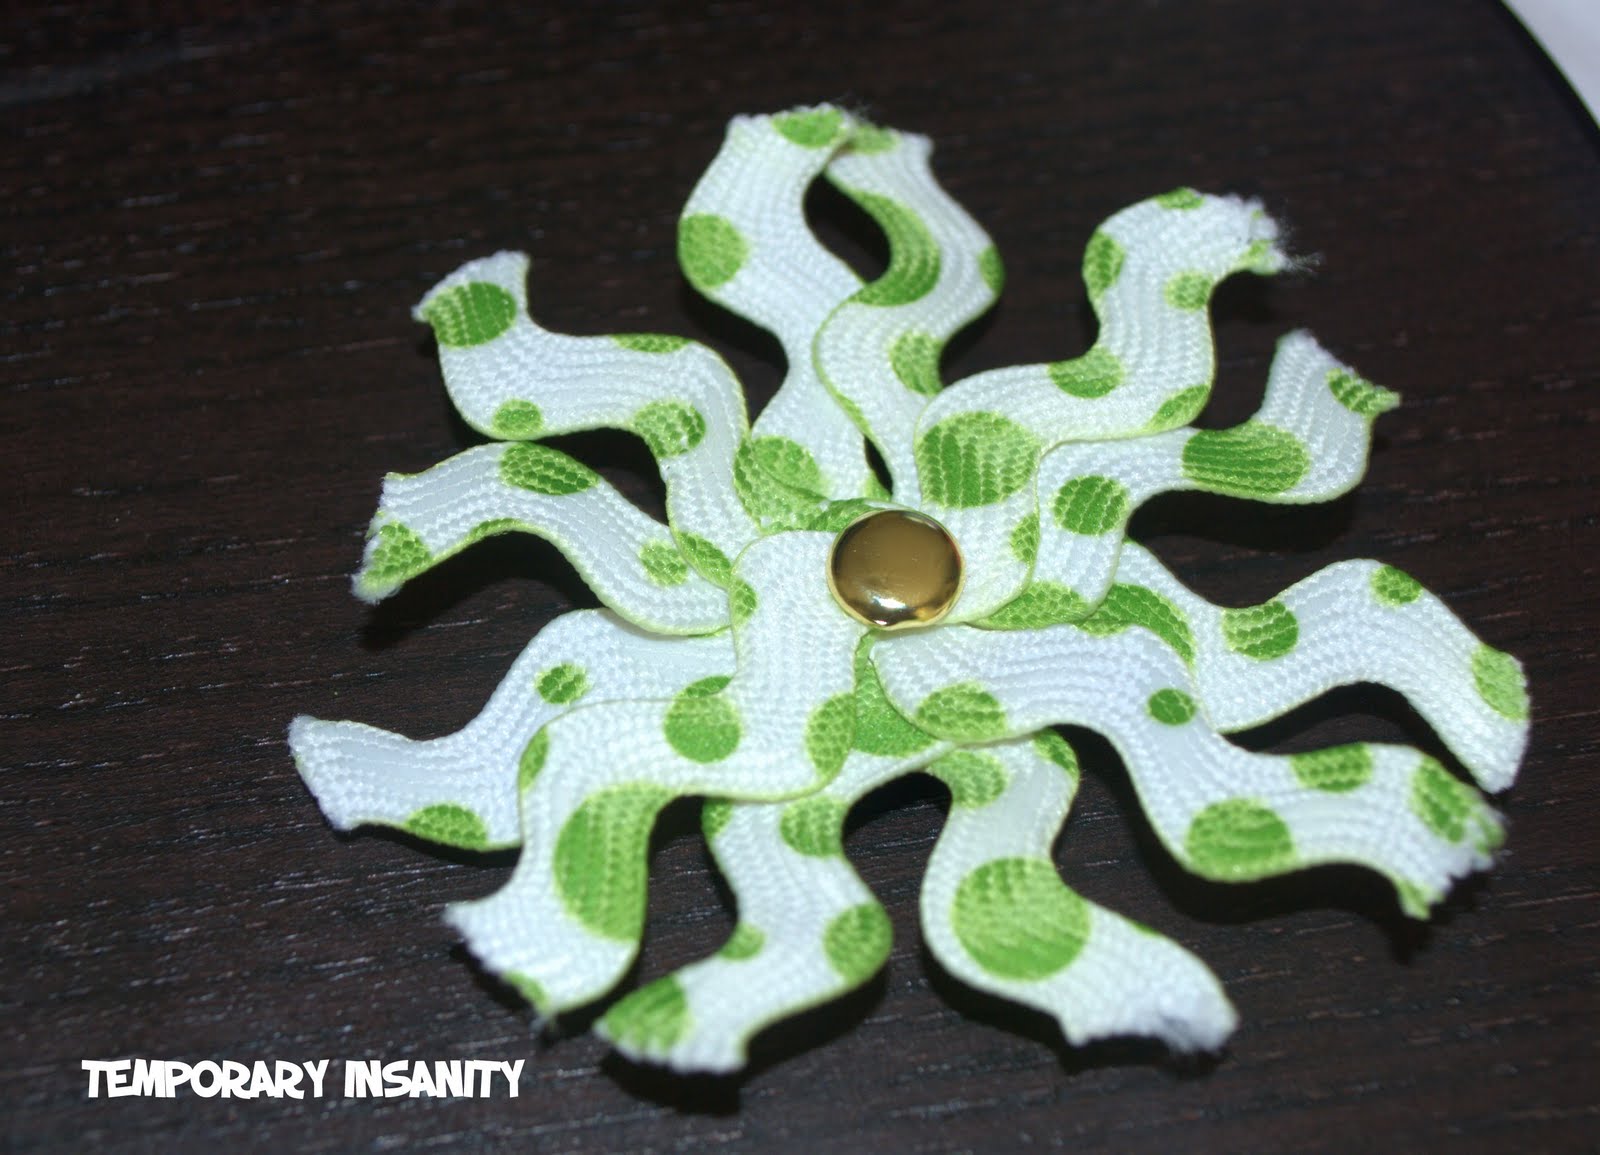
I had the privilege of babysitting one of my daughter's friends this week. As I planned activities and projects for the week, I was inspired by the shape of daisies (this week's Found It Friday theme) and created this simple hair clippie project.
Each girl made two, perfect for keeping the hair out of the face on both sides during these hot summer days.
For this easy project, you will need:
1. some ric-rac or ribbon (we got our polka-dotted ric-rac from the dollar section at Michaels)
2. an alligator clip (you can get these at Michaels or any craft store)
3. a brad
4. a pair of sharp scissors
5. glue (we used the hot glue gun)
6. a 1 inch wooden circle
7. acrylic paint and brush
First, measure your alligator clip and then cut six pieces of your ric-rac or ribbon slightly longer than the clip.
Next, use your sharp scissors to make a small slit in the center of each ric-rac or ribbon piece. Insert brad through each slit and fan out pieces until they form a daisy shape. Secure ends of the brad down, as shown.
Here's what the right side will look like. You can skip to the last step if you don't want to do a monogrammed clippie.
Paint the wooden circle in a color to match the ric-rac. When dry, paint a coordinating initial in the center.

Finally, securely glue the daisy to the alligator clip and then glue the wooden circle over the brad.
These sweet little clippies are sure to make any little girl happy! They are so versatile too - one day my daughter wore hers clipped to her favorite hat and the next day clipped to a matching headband.

enjoy! and remember, always create lovely things!