Showing posts with label king arthur flour. Show all posts

Friday, April 20, 2012

Best Sandwich Bread Ever

As I have mentioned in previous posts, we recently changed our whole family over to the Feingold Elimination Diet, a food and lifestyle plan that has helped hundreds of kids with ADD, autism, and other issues.  Before we started this diet, the Beast was having daily meltdowns, longer periods of regression, extreme lack of focus, and bouts of anxiety that would keep him awake at night.  Those were primarily the reasons I started researching for a way that we could help him naturally.
The Feingold Diet is a pretty radical change from the way we were eating and living.  We purchased the member plan for a year, which gave us access to a 300-page book of what brands and foods and beauty products were acceptable on the plan.  It also gave us a lot of helpful tips on how to get started, with a compendium of recipes to use as well as breakfast, lunch, and snack ideas.  Obviously I have neither the room (nor the permission !) to share all of that information here; but here's a very basic overview of our new way of life.
The Feingold Diet eliminates all artificial food colors, all artificial flavors, most preservatives, all synthetic sweeteners, and natural salicylates.  Many autistic children have a sensitivity to one or more of the salicylic foods, which include apples, oranges, berries, grapes, peppers, tomatoes, and other natural foods;  so these natural salicylates are removed for 6 to 8 weeks and then are gradually reintroduced to the child one at a time to test for toleration. Also, toiletries and laundry detergent have to be color-free and fragrance-free.  As you can imagine, meal planning has been quite interesting!  I am able to purchase bread, but the brands and types allowed on the diet are quite expensive and not really feasible for a family that loves sandwiches for lunch!  
So I've been making my own bread and experimenting with several recipes to get just the "right" sandwich bread.  I think I've found a winner!
 This yummy white sandwich bread is made using King Arthur Flour's recipe here.  It is (literally!) the easiest bread recipe I have ever made.  You just put all the ingredients in your bowl in the order listed in the recipe, mix and knead, let it rise, transfer it to a loaf pan, let it rise again, and bake.
Here we got a little too eager and cut into the bread before it was cool enough.  I have no regrets. :)  The recipe makes a nice soft sandwich bread that is still sturdy enough to hold tuna salad or egg salad.  I am thinking that for the most part, this is going to be my go-to recipe for bread.
I am also working on finding or creating recipes that fit in our new diet and are kid-friendly (no easy task when you don't have tomato sauce to work with).  I am hoping to share many of these in the blog in the upcoming weeks to be a help to others who may also be on the diet or at least considering it.
Oh, and are you wondering if we've seen any results?  Two days after we started it, the Beast calmly and quietly stayed at the dinner table throughout the entire meal.  This has NEVER happened before.  I have also seen him now able to control himself better and able to calm himself down without help!  We are so amazed at the change.
I should have waited until the end of writing this post to add the pictures.  I am so hungry for a piece of that bread now!  I think I'll go warm up a slice and slather it with some butter...

Wednesday, March 21, 2012

Better Than Twix Bars

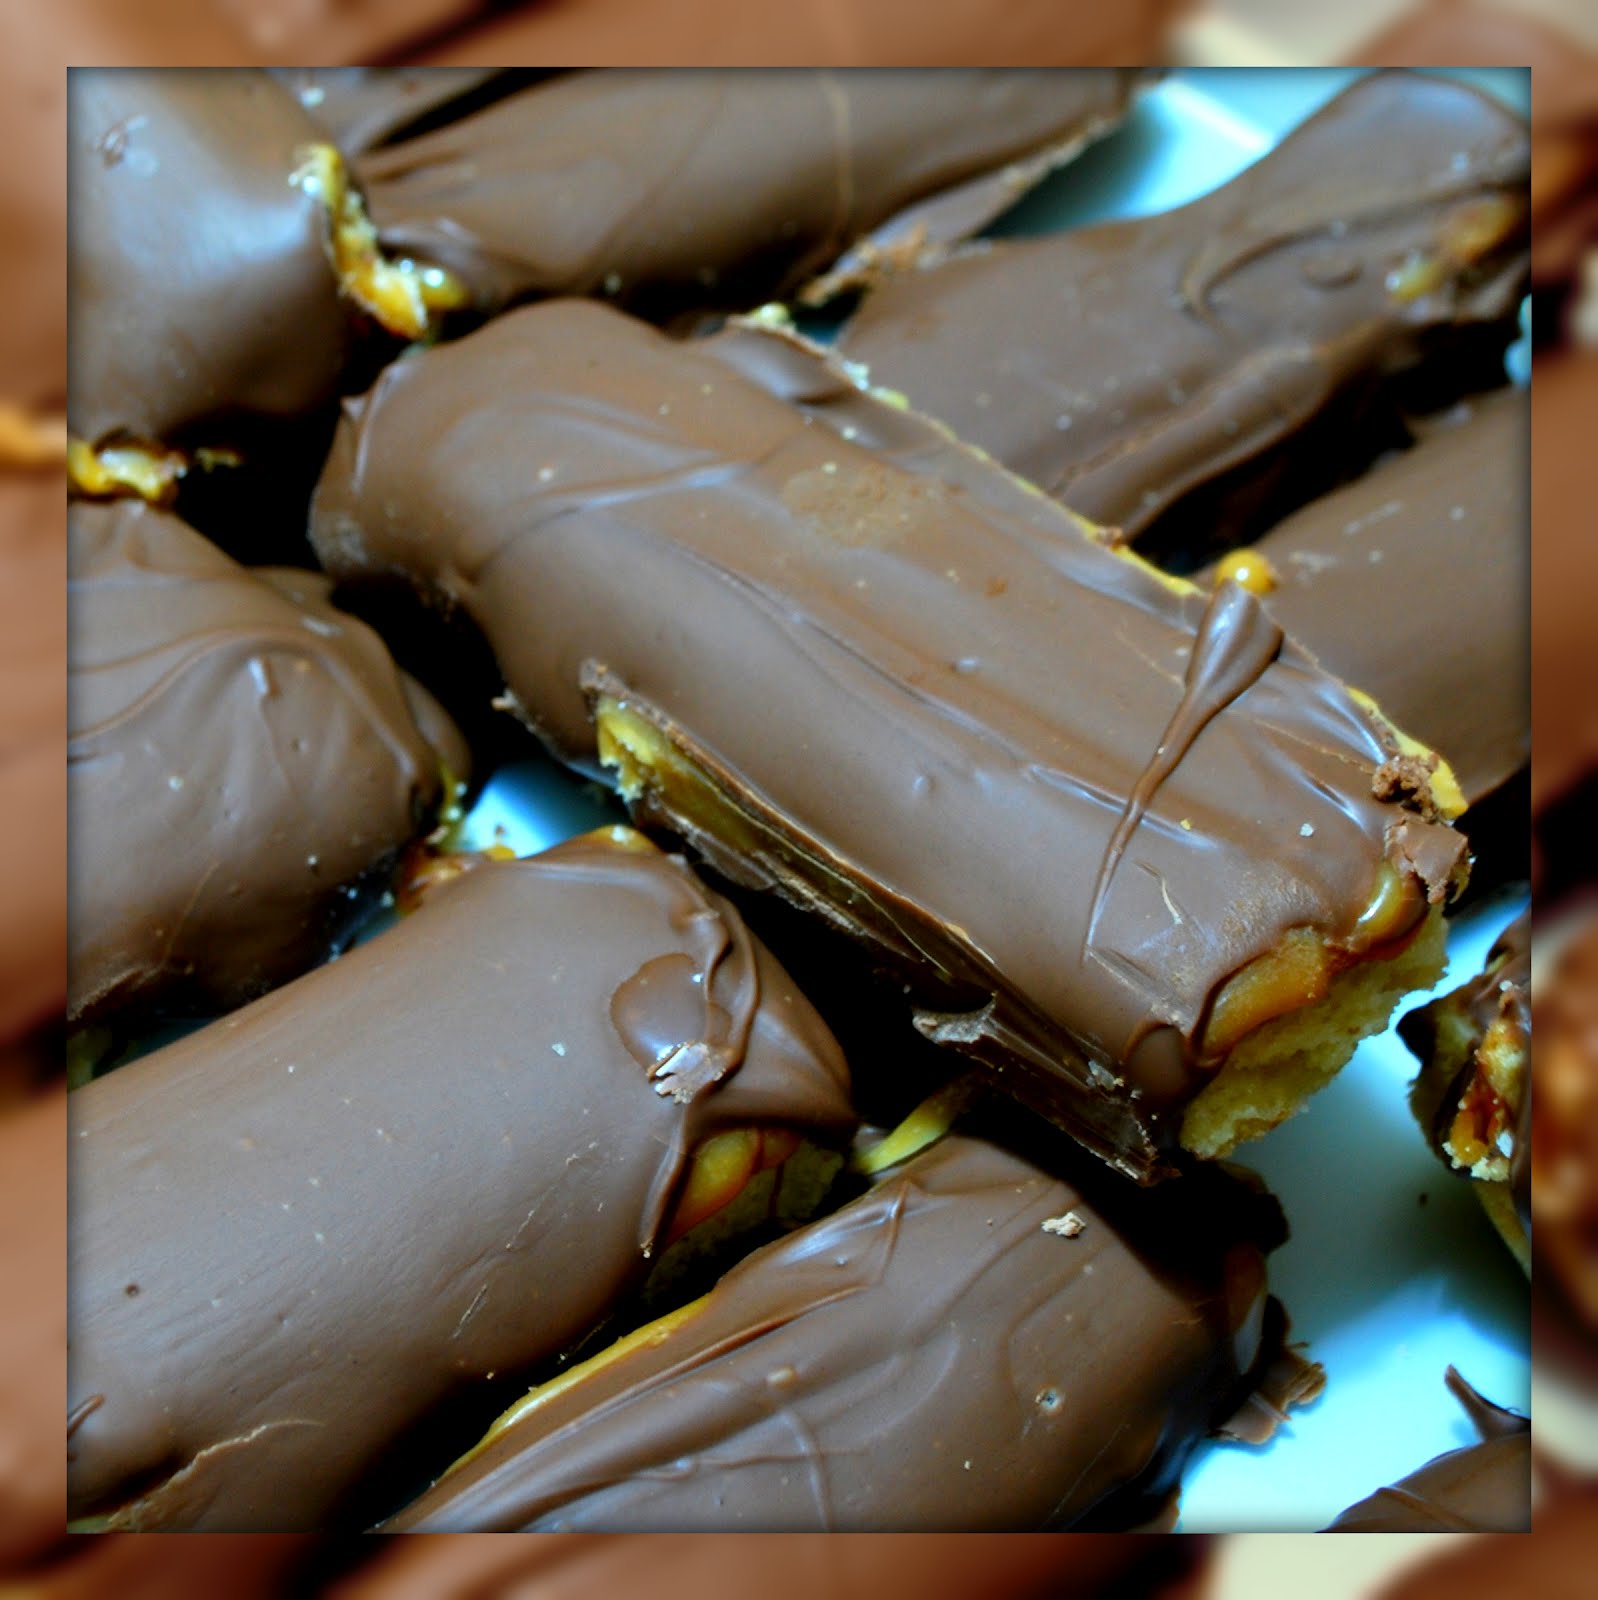
I have been finally getting to some of the bazillion projects pinned to my "Making This" board in Pinterest. I chose my "Homemade Twix Bars" pin to make this past weekend for a family get-together. The recipe comes from King Arthur Flour under the title "Thousand Dollar Bars."
Don't lick the screen now, but I promise they taste as good as they look and in my opinion are even better than Twix bars! The recipe is made in three parts: the cookie, the caramel, and the chocolate. That worked out well for me because I had three eager little helpers, each of whom got to assist in a different part.
Here's the ingredient list: (for the cookie) 2 sticks of salted butter, 1 cup powdered sugar, 2 tsp vanilla extract, 2 cups flour (for the caramel) 1 bag of Kraft caramels, 3 TBS whipping cream (for the chocolate) 2 bags of milk chocolate chips. {some of these vary slightly from the original recipe, but I chose them because either it's what I had already or what I thought would work better.}
First, you will make the cookie. Make sure the butter is at room temperature (a quick way to soften butter is to grate it or use the defrost function on your microwave.) Then beat the butter, sugar, and vanilla together until thoroughly mixed. Add the flour and continue to mix until it is all incorporated into a stiff dough.
Take this dough and press into a greased 9x13 pan. (I lined my pan with parchment paper so that it would be easy to get the cookie out later.) Make sure the dough is evenly pressed down.
Next, use a fork to poke holes in the shortbread cookie dough before baking. Then bake the cookie at 300 degrees for 35 to 45 minutes.
This is what your baked cookie will look like. Only don't look that close or you'll be tempted to eat it all up before you make the caramel and chocolate layers. Here's where patience comes in. You need your cookie layer to completely cool before you make the next layer. Don't rush it!
When your cookie layer is completely cooled, start on the caramel layer. Unwrap the caramels (this is where it is very handy to have an autistic boy who is obsessed with opening things!) and melt them in a saucepan with the cream over low heat.
Pour the hot caramelly goodness over the cookie crust and put it in the fridge for thirty minutes to harden. (Hey, I said no licking the screen!)
When the caramel layer has hardened, cut it into long thin bars with a hot knife. Put the bars back into the fridge to stay cool while you get the chocolate ready.

Melt your milk chocolate chips in a sauce pan over low heat, stirring constantly. When the chocolate is melted and smooth, it is time to cover the bars. I decided to set my bars on wire racks and pour the chocolate over them. It worked but the bars looked messy and some chocolate was wasted, which was a terrible shame. Next time I will dip the bars into the chocolate. Anyway, put your chocolate-covered bars in the fridge and WAIT for the chocolate to completely firm up before attempting a taste. Also, if you are planning on taking these to a party or some other function, you should not taste these ahead of time. Once you try one, you will not be able to stop at just one.

I can't wait to try this recipe again but use semisweet chocolate chips instead. It is definitely a time-intensive recipe but completely worth it. :) Have fun indulging your sweet tooth!