
I have been finally getting to some of the bazillion projects pinned to my "Making This" board in Pinterest. I chose my "Homemade Twix Bars" pin to make this past weekend for a family get-together. The recipe comes from King Arthur Flour under the title "Thousand Dollar Bars."
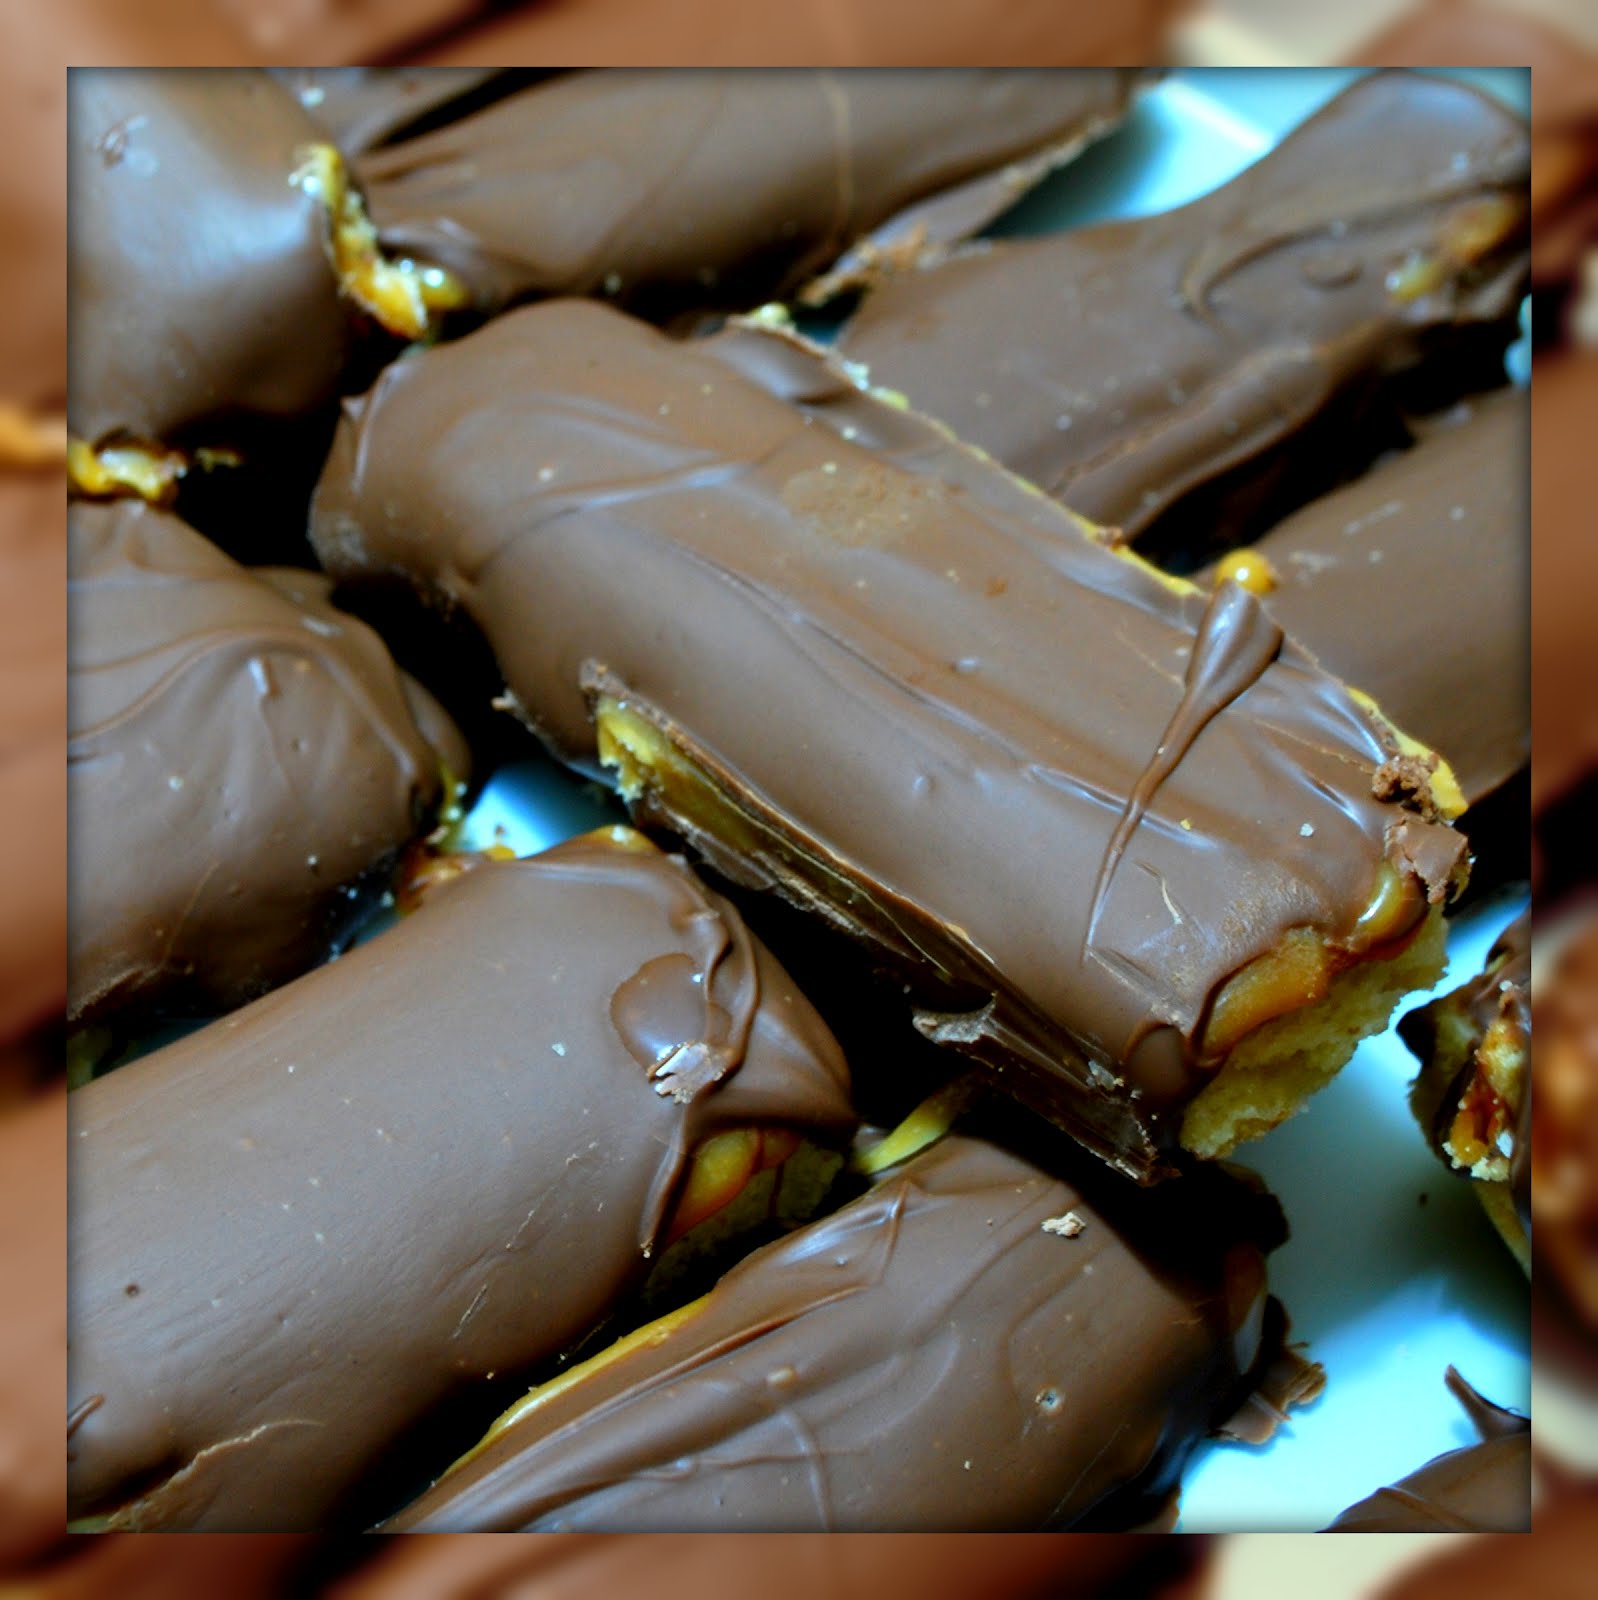
Don't lick the screen now, but I promise they taste as good as they look and in my opinion are even better than Twix bars! The recipe is made in three parts: the cookie, the caramel, and the chocolate. That worked out well for me because I had three eager little helpers, each of whom got to assist in a different part.


Here's the ingredient list: (for the cookie) 2 sticks of salted butter, 1 cup powdered sugar, 2 tsp vanilla extract, 2 cups flour (for the caramel) 1 bag of Kraft caramels, 3 TBS whipping cream (for the chocolate) 2 bags of milk chocolate chips. {some of these vary slightly from the original recipe, but I chose them because either it's what I had already or what I thought would work better.}


First, you will make the cookie. Make sure the butter is at room temperature (a quick way to soften butter is to grate it or use the defrost function on your microwave.) Then beat the butter, sugar, and vanilla together until thoroughly mixed. Add the flour and continue to mix until it is all incorporated into a stiff dough.


Take this dough and press into a greased 9x13 pan. (I lined my pan with parchment paper so that it would be easy to get the cookie out later.) Make sure the dough is evenly pressed down.


Next, use a fork to poke holes in the shortbread cookie dough before baking. Then bake the cookie at 300 degrees for 35 to 45 minutes.


This is what your baked cookie will look like. Only don't look that close or you'll be tempted to eat it all up before you make the caramel and chocolate layers. Here's where patience comes in. You need your cookie layer to completely cool before you make the next layer. Don't rush it!


When your cookie layer is completely cooled, start on the caramel layer. Unwrap the caramels (this is where it is very handy to have an autistic boy who is obsessed with opening things!) and melt them in a saucepan with the cream over low heat.


Pour the hot caramelly goodness over the cookie crust and put it in the fridge for thirty minutes to harden. (Hey, I said no licking the screen!)


When the caramel layer has hardened, cut it into long thin bars with a hot knife. Put the bars back into the fridge to stay cool while you get the chocolate ready.

Melt your milk chocolate chips in a sauce pan over low heat, stirring constantly. When the chocolate is melted and smooth, it is time to cover the bars. I decided to set my bars on wire racks and pour the chocolate over them. It worked but the bars looked messy and some chocolate was wasted, which was a terrible shame. Next time I will dip the bars into the chocolate. Anyway, put your chocolate-covered bars in the fridge and WAIT for the chocolate to completely firm up before attempting a taste. Also, if you are planning on taking these to a party or some other function, you should not taste these ahead of time. Once you try one, you will not be able to stop at just one.

Melt your milk chocolate chips in a sauce pan over low heat, stirring constantly. When the chocolate is melted and smooth, it is time to cover the bars. I decided to set my bars on wire racks and pour the chocolate over them. It worked but the bars looked messy and some chocolate was wasted, which was a terrible shame. Next time I will dip the bars into the chocolate. Anyway, put your chocolate-covered bars in the fridge and WAIT for the chocolate to completely firm up before attempting a taste. Also, if you are planning on taking these to a party or some other function, you should not taste these ahead of time. Once you try one, you will not be able to stop at just one.
I can't wait to try this recipe again but use semisweet chocolate chips instead. It is definitely a time-intensive recipe but completely worth it. :) Have fun indulging your sweet tooth!
I'm pretty sure my screen is saturated with my spit. Because of all the licking and drooling. They look AMAZING. I think I'm gonna have to make these! thanks for sharing, my friend!!!
ReplyDelete