
I just posted about our healthy Halloween party. For one of the party games, I made a ghost pinata using a paper bag, a little white paint, tissue paper, and glue. It's incredibly easy but a little time-consuming. I would recommend cueing up some Downton Abbey or other such entertainment while you work. Here's how to make your own paper bag pinata - you can use this tutorial to make whatever themed pinata you want.

Isn't it cute and fluffy? It was a shame that little Casper here had to be destroyed during the party. Anyway, to make your own paper bag pinata, you'll need: a sturdy paper bag (bonus points if it has its own handles!), tape or a stapler, acrylic paint in the color of your pinata, tissue paper, and Elmers' glue.

First, stuff your paper bag with a few plastic grocery bags or crumpled newspaper pages. Then put the goodies in - trinkets, candy, pencils, whatever - and top them off with more crumpled newspaper or plastic bags until the bag is full. Staple the top of the bag shut (or, if you're like me, lose your stapler and spend too much time looking for it before you finally give up and just tape the top closed.) If your bag does not have handles, staple some sturdy string or ribbon to the top to use as a hanger later on.

Next, cut your tissue paper into squares. I folded my sheets of tissue paper up until I had a 2" by 2" square. Then I was able to cut several squares at one time. You can use bigger or smaller squares too, depending on your preference. I got my tissue paper (white with glitter) at the dollar store. One pack of tissue paper was more than enough for this project.

Meanwhile, or perhaps you should do this before you cut the tissue paper squares so the paint can dry, slap some paint on the paper bag. Cover all sides with paint, but don't worry about the paint completely covering everything. It's just there in case the tissue paper puffs are not thick enough.

Now comes the fun part. Take the four corners of a tissue paper square in your thumb and pointer finger. Put a small dot of glue in the center of the square and attach it to your paper bag so that the four corners poke out in a ruffled shape. Do another tissue square in the same manner close to the first one. I used a chopstick to press in the center of each tissue paper square to keep my fingers from getting sticky and to position the squares better. Continue filling in the area all around where you started. I started at the top corner of my bag and went acroos.

Well, if you stopped right here and painted the rest of the bag pink or zebra-striped, you have a very cute purse pinata. :) For any other theme, continue poking and positioning your tissue paper squares until the front and the back of the bag is covered.

For the sides of the bag, scrunch up some tissue paper and glue in place in the indentations to make a level surface. Then cover both sides with more squares of tissue paper.

Then, decorate your pinata! Since I was making a ghost, I glued strips of tissue paper to the bottom of the paper bag.
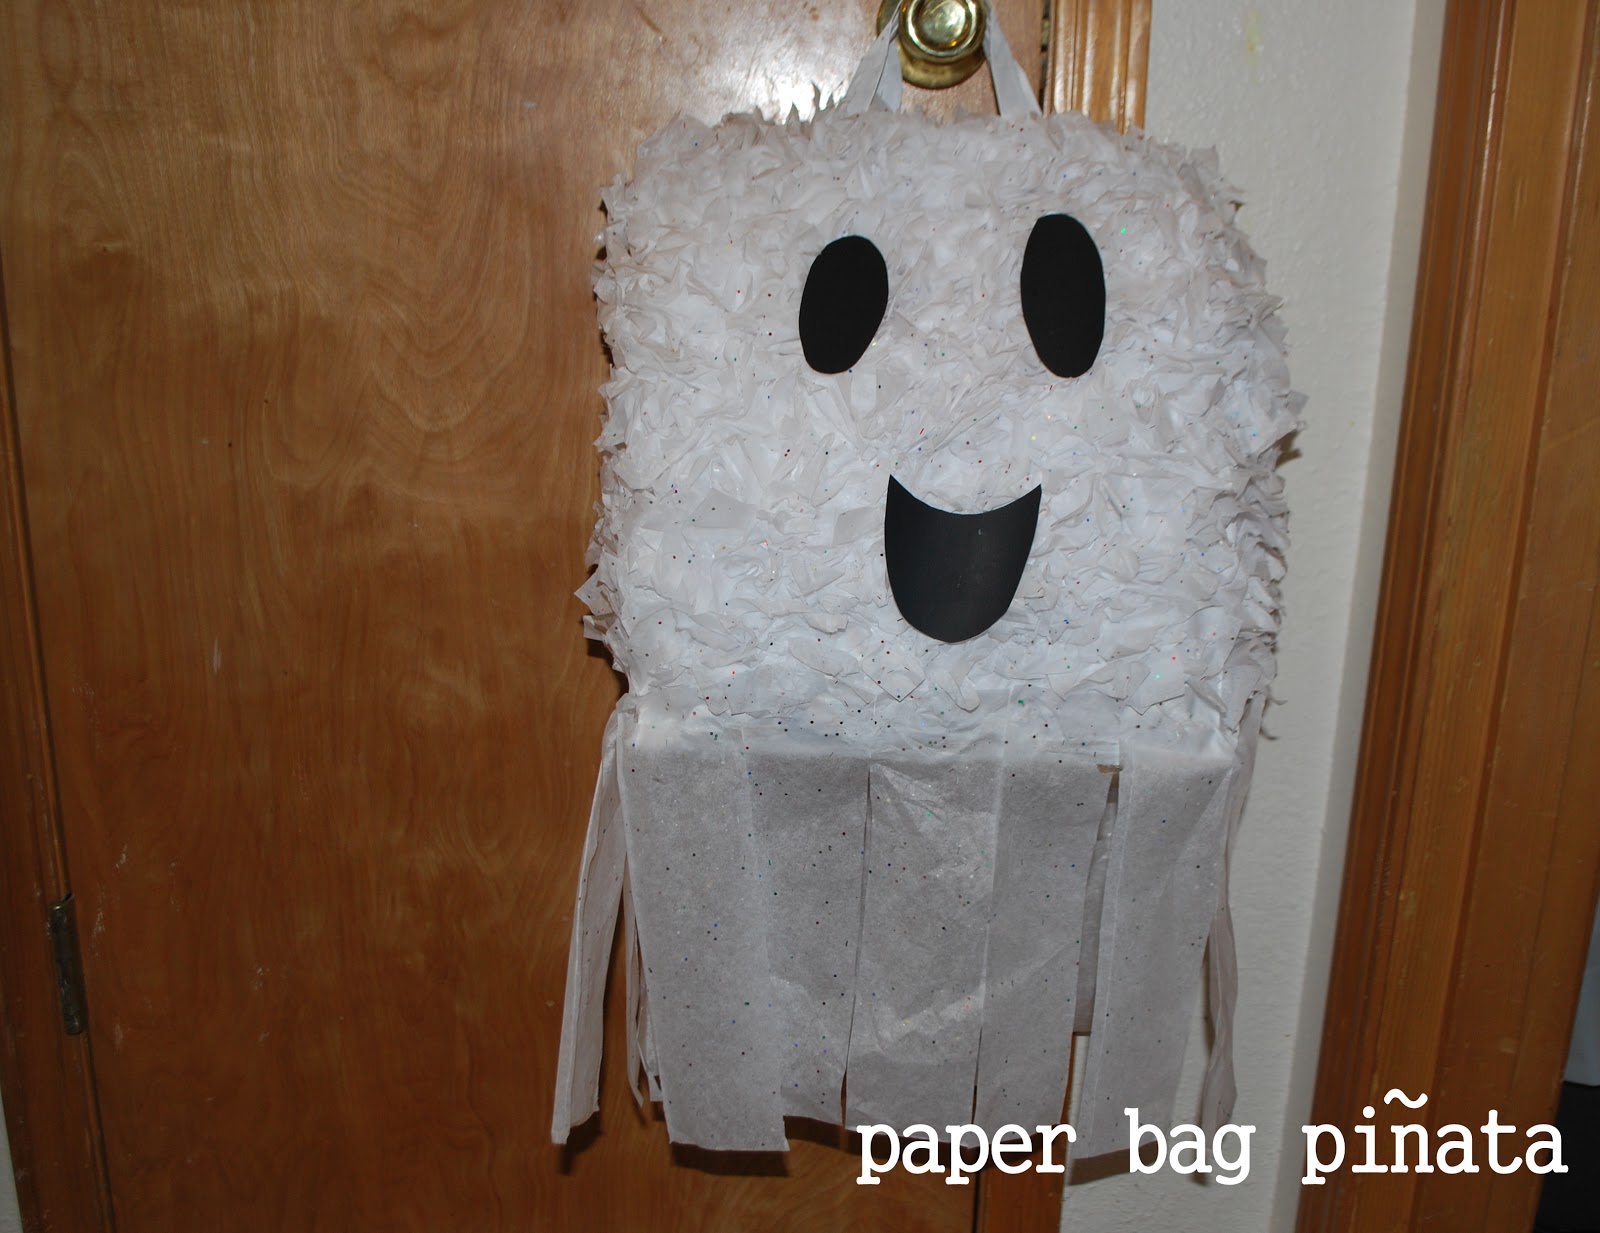
And of course, I glued on a very adorable face to make my cute ghost complete.
You simply cannot get a cheaper pinata - the tissue paper was $1.00, the paper bag was free, and I already had glue and white paint lying around the house. The biggest cost is buying the treats that go in it!
No comments:
Post a Comment
Help relieve some of my insanity by letting me know you stopped by!